Setting Up RabbitMQ#
Before we setup RabbitMQ, I should tell you what it is. It’s a library written on top of the Erlang programming language which allows you to send messages across the Internet, or just to different processes running on your machine.
Even though it is written in Erlang, RabbitMQ supports many different
programming languages, including Python. It does this with the pika
library.
Bernhard Wenzel provides an excellent introduction to RabbitMQ here:
I found the installation documentation on the RabbitMQ website to be mostly illegible to me as a new user, so I wrote this guide to save you the pain which I went through.
Note
Most of the documentation on the RabbitMq website is illegible (except their tutorials section). There are a lot of words written but think of their documents as a collection of open secrets; they are a consulting company after all. (their docs remind me of the Noam Chomsky bot that can write you pages and pages of gibberish).
Installing On Linux with Ansible#
To get your RabbitMQ server working over a network with Python requires at least ten steps, so I have automated them using Ansible.
If you haven’t seen Ansible before, it is a tool for automatically deploying software onto Linux systems. It makes sense to use Ansible for two different reasons; it turns your program installation into source code that you can keep under revision control, and it is scalable; with minimal effort, you can deploy things onto multiple machines.
To install Ansible:
sudo apt-get install ansible
Now if you don’t know already, figure out what your hostname is, by typing:
hostname
When I type this on the raspberry pi that I tested this procedure with, I see its
hostname is scotty. In the following examples replace scotty with your
hostname.
Now you will need to change the host files for Ansible.
sudo pico /etc/ansible/hosts
Now add the following:
[scotty]
127.0.0.1
Save (write-out) and exit the file. What I have done is to link my hostname,
scotty to my IP address. 127.0.0.1 is always the IP of your local machine.
By writing this into the /etc/ansible/hosts file I am telling Ansible that I
want to do a deployment to this machine when I reference scotty in the
Ansible file (which we will talk about shortly).
Note
If you want to have Ansible deploy RabbitMQ to other IP addresses, you can add
them below the 127.0.0.1 address in the /etc/ansible/hosts file. In this
way you can have rabbitMq install everywhere you need it, all at once.
Ansible does its deployments using ssh. So to use Ansible we have to setup ssh for our computer.
To do this, we generate a public and private key, then concatenate our public
key into our authorized_keys. If you don’t have a id_rsa or a
id_rsa.pub in your ~/.ssh/ directory, then you need to make them. To do
this:
mkdir ~/.ssh
cd ~/.ssh
sudo ssh-keygen
When you see an option to enter a passphrase, just hit enter.
Now that you have a public and private key, you want to concatenate your
authorized_keys file with your public key:
sudo cat '~/.ssh/id_rsa.pub' >> '~/.ssh/authorized_keys'
Note
If you have included other IP addresses in your ansible host file, you will need to place your public key onto these servers as well, to do this:
cat ~/.ssh/id_rsa.pub | \
ssh user@hostname 'cat >> .ssh/authorized_keys'
To test that this works, I type the following and confirm that I can login using ssh:
ssh $USER@scotty
If this command succeeds, you will log into another version of your shell.
To exit this connection, just type exit.
Now that I can login to this computer using ssh, Ansible can perform automatic deployments for me.
Ansible uses a set of yml files to hold instructions on how to deploy something. These files are pretty straightforward to read and are mostly self documenting.
Since I only want to deploy RabbitMQ, I have written just one Ansible yml file to do this job. But a RabbitMQ server is configured with two different configuration files, one that holds the environment variables and the other that is an Erlang data structure. To keep configurations DRY, Ansible allows you to define jinja2 template files (j2 extension) to be filled in with the variables defined in your deployment yml file.
When your run Ansible, it will reference your template files, change the parts that you have marked up with jinja2 syntax with the variables defined in your yml file, then place these newly constructed configuration files in the directory where they need to be with the correct permissions.
So to deploy a networkable RabbitMQ setup, I have created three files which will be used by Ansible:
Purpose |
File Name and Link |
|---|---|
The deployment yml script |
|
The rabbitmq environment configuration |
|
The rabbitmq configuration |
Copy the above files into a directory on your Linux machine.
The only thing you should change is the hosts (which is set to scotty), the
rabbit_name (bob), rabbit_password (dobbs) and the guest_password
(rabbit123) to whatever you want. These variables are found in the
rabbit_install.yml file.
Now to setup your RabbitMQ server, type:
ansible-playbook -K rabbit_install.yml
This command will prompt you for your sudo password, enter it and the
rabbitmq server should be setup.
To see if your server is running, you can open the management software that
comes with it via their web app, by typing localhost:15672 and log in with your
user name and password, if you didn’t change this in the
rabbit_install.yml file, your user name will be bob and the password will
be dobbs:
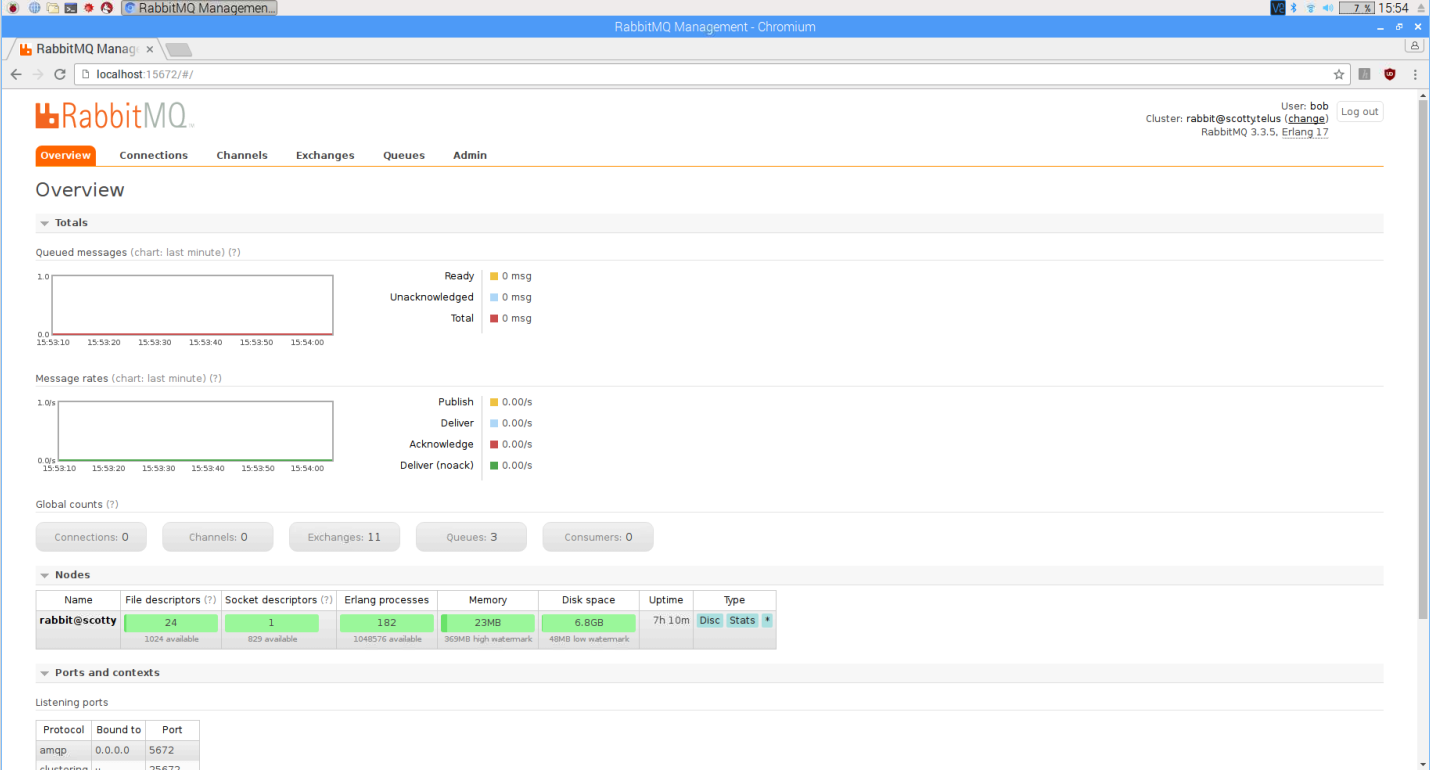
If you have come this far you have a working RabbitMQ message broker running on your Linux system.
Installing On Windows#
To install the same infrastructure on Windows follow these instructions. Or you can reference this guy’s blog. To open the required ports, look at this.
Learning to Basic Messaging Patterns and Networking RabbitMQ#
Ok, now what?
To learn how to use it with Python, there is a great set of tutorials provided on the RabbitMQ site.
The only problem with these tutorials is that they do not show you how to network RabbitMQ. I wrestled with their example code for a while and got them working across my network.
If you want to code by example, I recommend that you work through their tutorials, then use my code to see how to make it work across your own network:
Tutorial Purpose |
RabbitMQ Pika Tutorial |
Networked Version of their Tutorial |
|---|---|---|
Hello World |
||
Work Queues |
||
Publish/Subscribe |
||
Routing |
||
Topic Routing |
||
RPC |
Note
On security. This configuration is NOT secure at all.
The rabbitmq server is not secure. I have made it possible to transmit messages across the network using the default user name, guest. Also, the messages are not encrypted.